
My New Traveler’s Notebook Setup and Review
I have been interested in the Traveler’s Notebook for a while now but was already using a different notebook and planner. Towards the end of this year, when I started looking at the 2022 Planners, I thought I should try something else. In the previous years, I had used the Erin Condren Planners for planning at home, budgeting, and on-the-go planning but I felt like I should change things up and try something new. This post is about my Traveler’s Notebook Setup with a quick review.
I will still be using the Erin Condren Lifeplanner for budgeting and at-home planning. New in 2022 will be a Hobonichi Weeks planner as my on-the-go planner and a regular size Traveler’s Notebook for different notes, lists, doodling, etc, and the passport size Traveler’s Notebook as my wallet and budget tracker.
*** This post contains affiliate links. By purchasing an item through an affiliate link, I earn a small commission at no extra cost to you. ***
Notebook Info
The Traveler’s Notebook is made by the Traveler’s Company from Japan. This notebook is highly customizable with lots of different inserts available and can be used for many purposes, such as planner, travel companion, sketchbook, scrapbook, and more. Further below is a list of all available inserts.
The Traveler’s Notebook currently comes in two different sizes. There is a regular size and passport size, which is a bit smaller. This review is about the regular-sized Traveler’s Notebook. I have also ordered a TN in the passport size and will make a separate review and setup. I am planning on using the passport-sized TN as my everyday wallet. Update: Traveler’s Notebook Passport Wallet Setup and Review
Regular size – about 4.9″ x 8.7″ (12.5 cm x 22 cm)
Passport size – about 3.9″ x 5.3″ (10 cm x 13.5 cm)
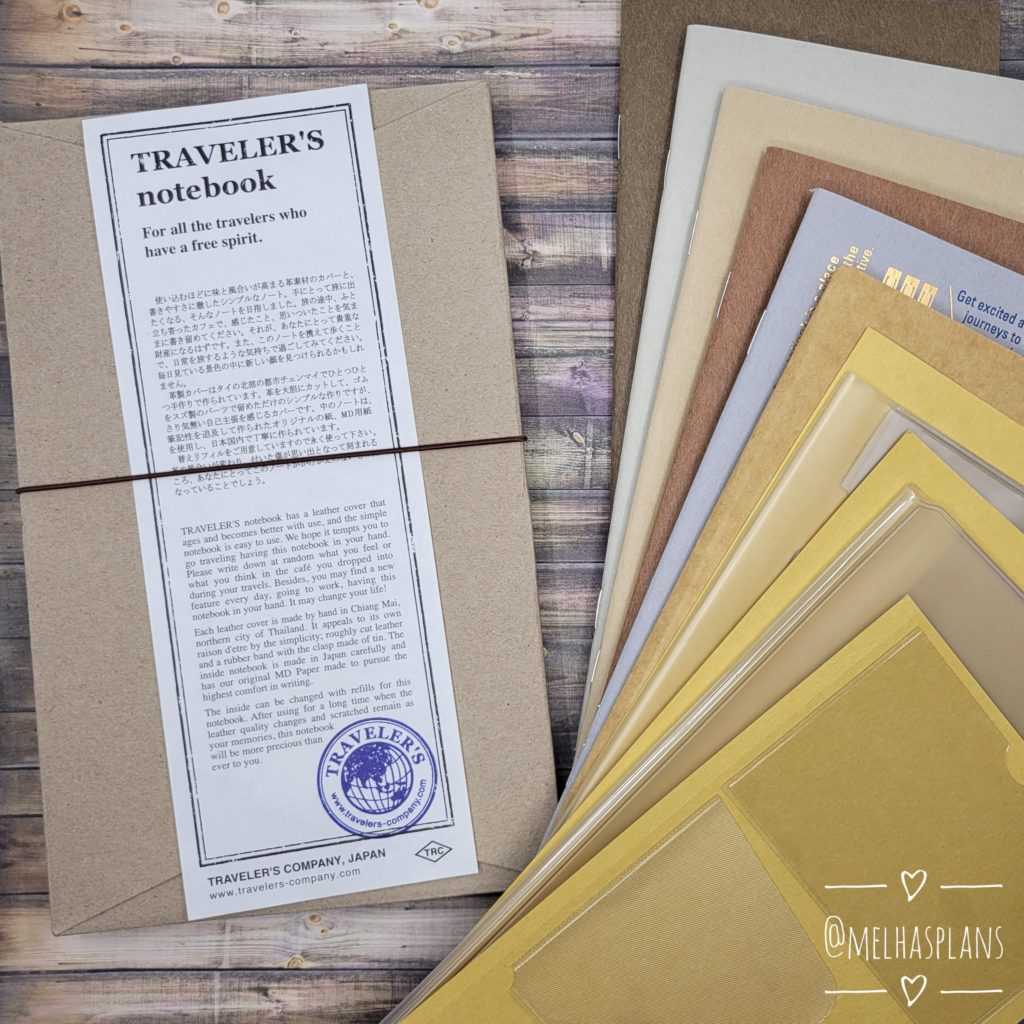
Traveler’s Notebook Starter Kit (regular size)
The Starter Kit comes with:
- Package
- Cotton Bag
- Leather Cover
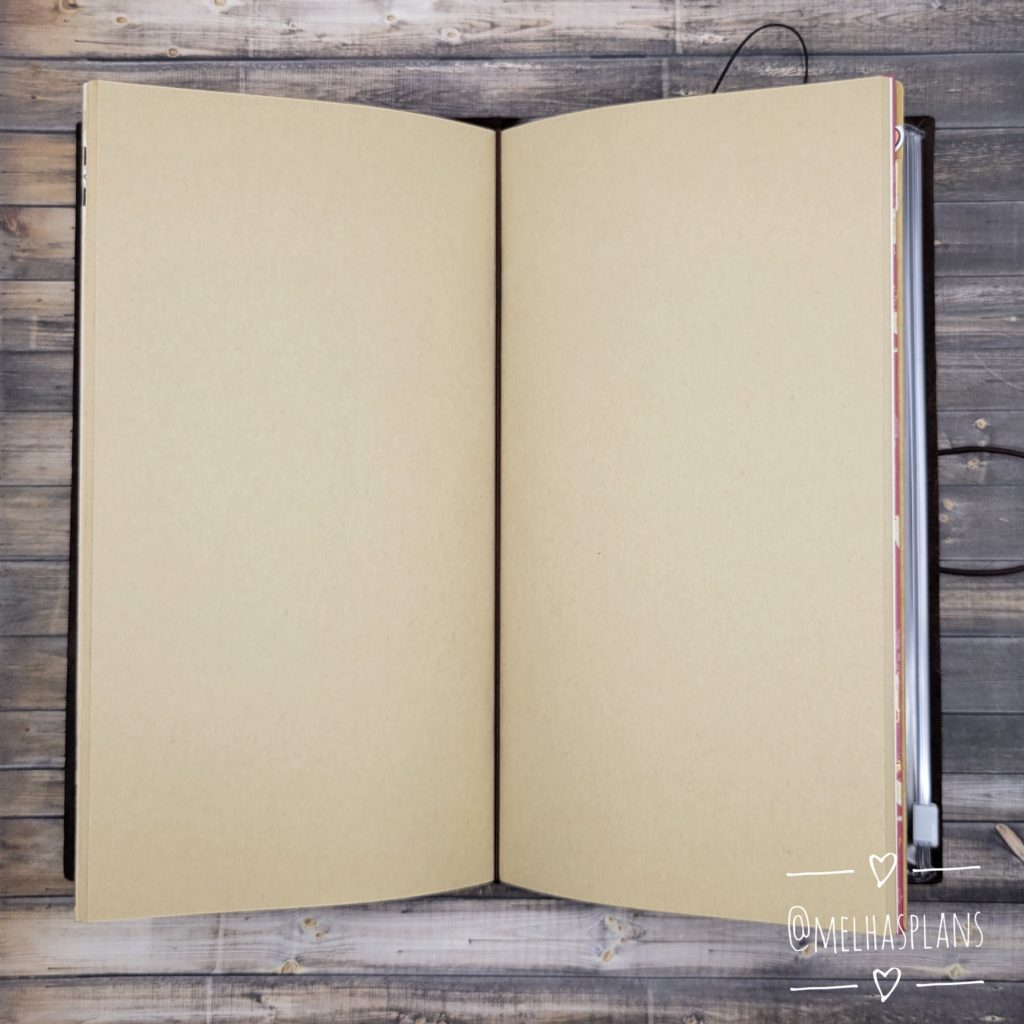
- Blank Notebook
- Spare Elastic Band
Leather covers are available in the following colors:
Traveler’s Notebook Refills (regular Size)
- 001 Lined Notebook
- 002 Grid Notebook
- 003 Blank Notebook
- 004 Pocket Stickers (small)
- 005 Free Diary (daily)
- 006 Pocket Sticker (large)
- 007 Card File
- 008 Zipper Case
- 009 Repair Kit
- 010 Double Sided Stickers
- 011 Refill Binder
- 012 Sketch Paper Notebook
- 013 Lightweight Paper Notebook
- 014 Kraft Paper Notebook
- 015 Pen Holder (small)
- 016 Pen Holder (medium)
- 017 Free Diary (monthly)
- 018 Free Diary (weekly vertical)
- 019 Free Diary (weekly & memo)
- 020 Kraft Paper Folder
- 021 Connecting Bands
- 022 Sticky Notes
- 023 Film Pocket Sticker
- 024 Pen Holder Sticker
- 025 MD Paper Cream
- 026 Dot Grid
- 027 Watercolor Paper
- 028 Card File
- 029 Three-fold File
- 030 Brass Clip
Other Inserts for the Regular sized Traveler’s Notebook
- Washable Paper
- Sticker Release Paper
- Accordion Fold Paper
- Super Lightweight Paper
- Message Card
- Letter Pad
- Cotton Zipper Case (olive)
- Cotton Zipper Case (orange)
My Traveler’s Notebook setup
I purchased the regular-sized brown cover and a few different inserts. I bought too many, so I have a few spares. These are the refills that I used for my setup:
- 007 Card File
- 002 Grid Notebook
- 020 Kraft Folder
- 014 Kraft Paper Notebook
- 008 Zipper Case
- 003 Blank Notebook
- 021 Connecting Bands
Setting up the notebook
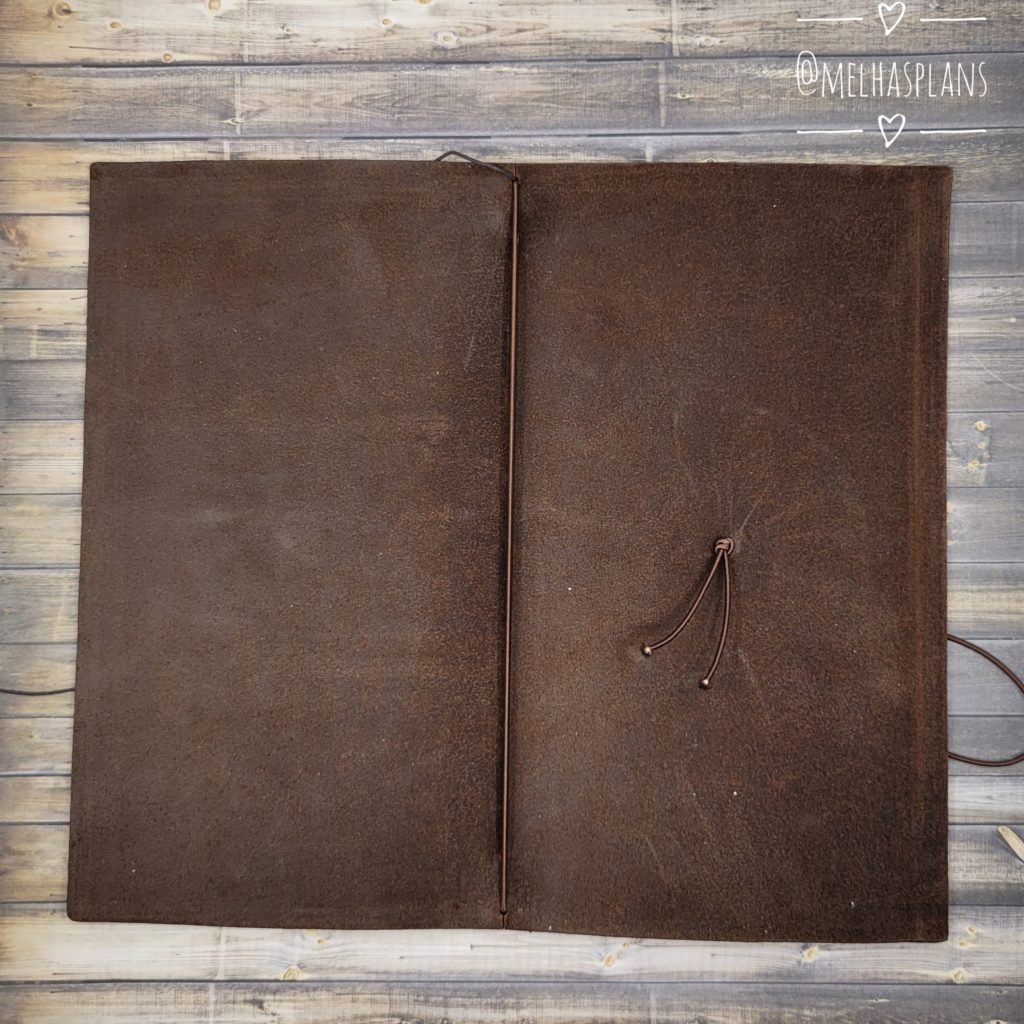
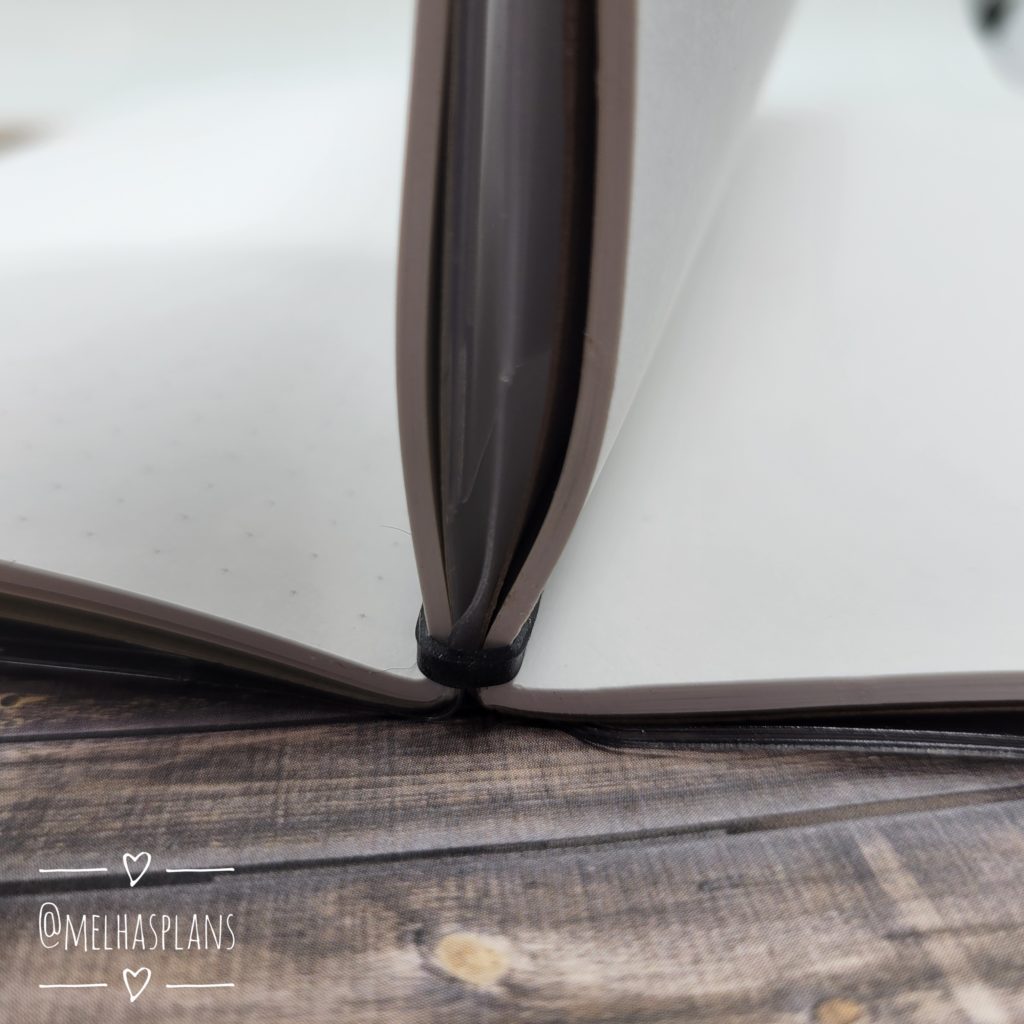
The leather cover is a simple piece of leather with two elastic bands in the middle. Another band goes through the back of the over to keep the notebook together when closed.
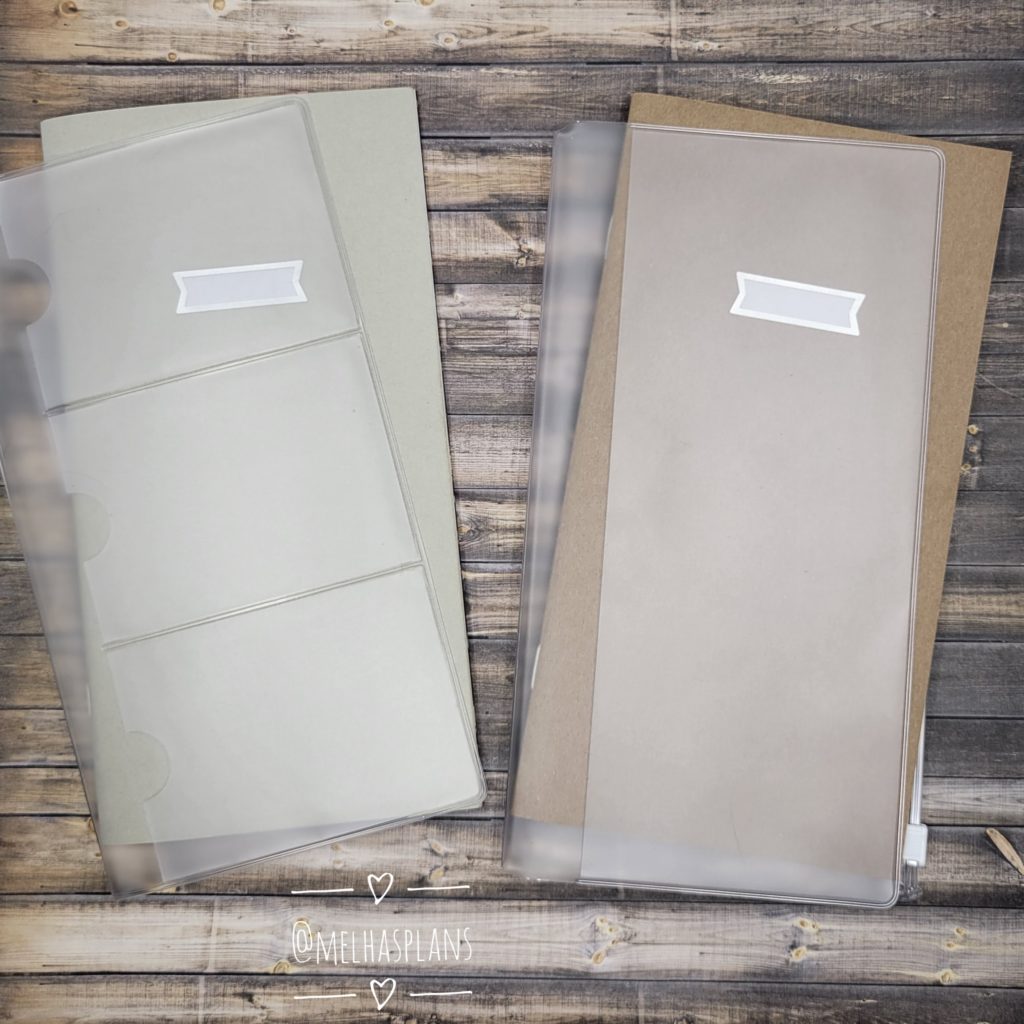
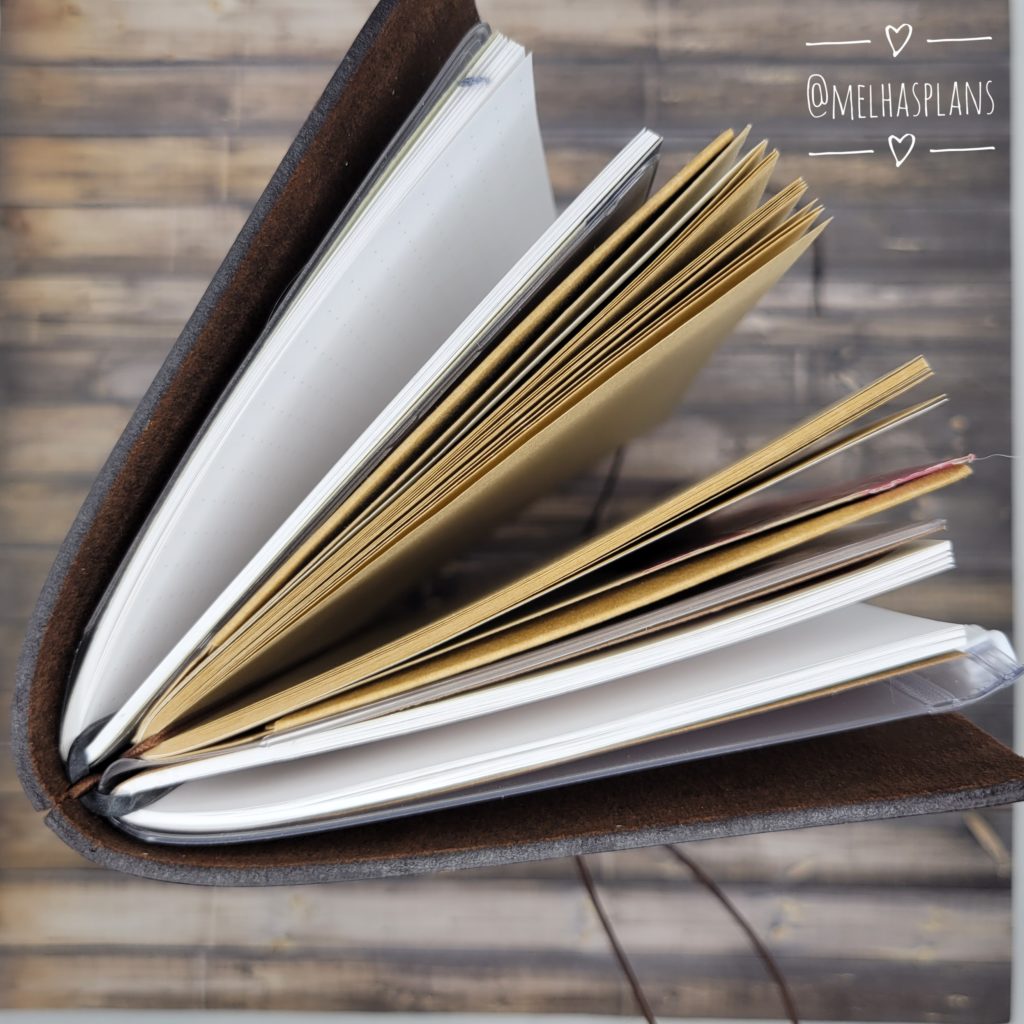
Here is how I set up my notebook. I placed the Grid Notebook (026) inside the Card File (007) and did the same for the Blank Notebook (003) and Zipper Case (008).
Next, I found the middle of each notebook and wrapped the Rubber Band (021) around them. The notebooks are now connected.
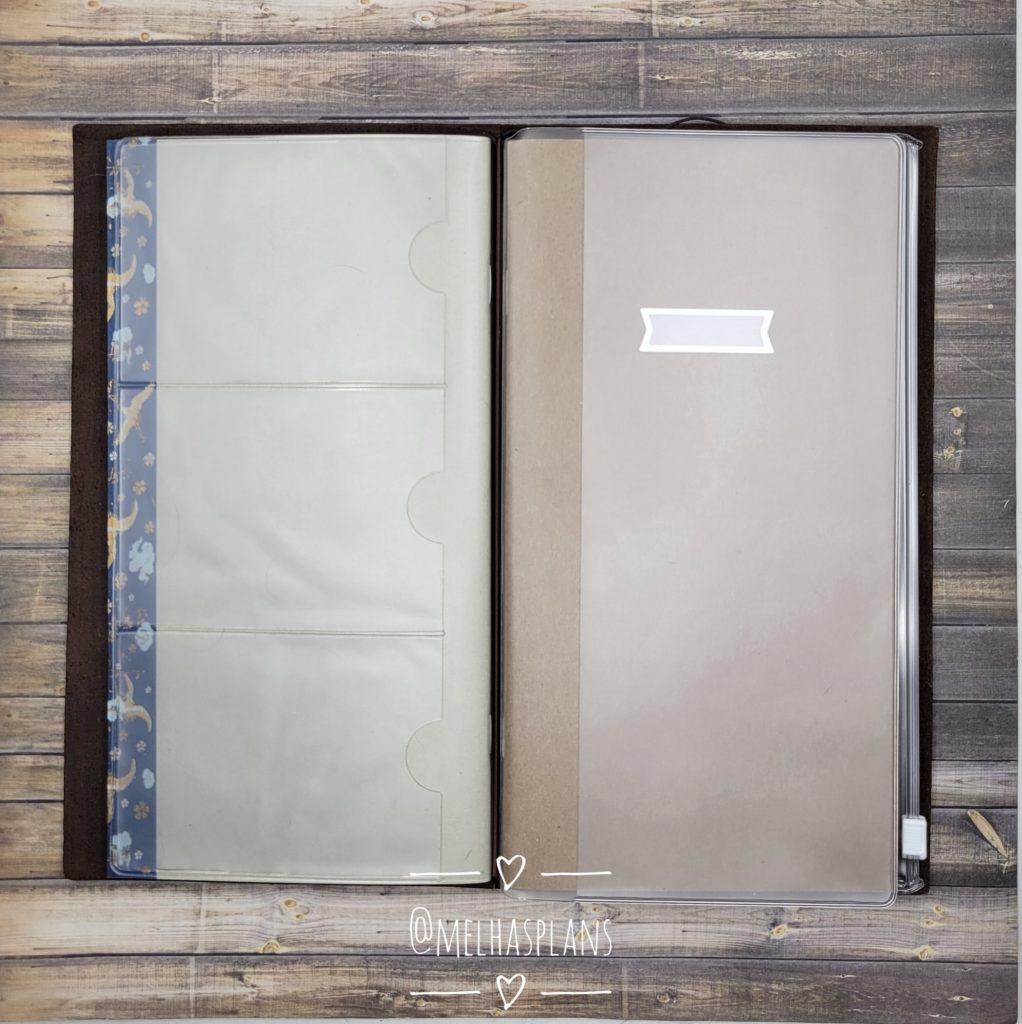
Here is another picture showing the two connected notebooks. I moved one of the books underneath the elastic band.
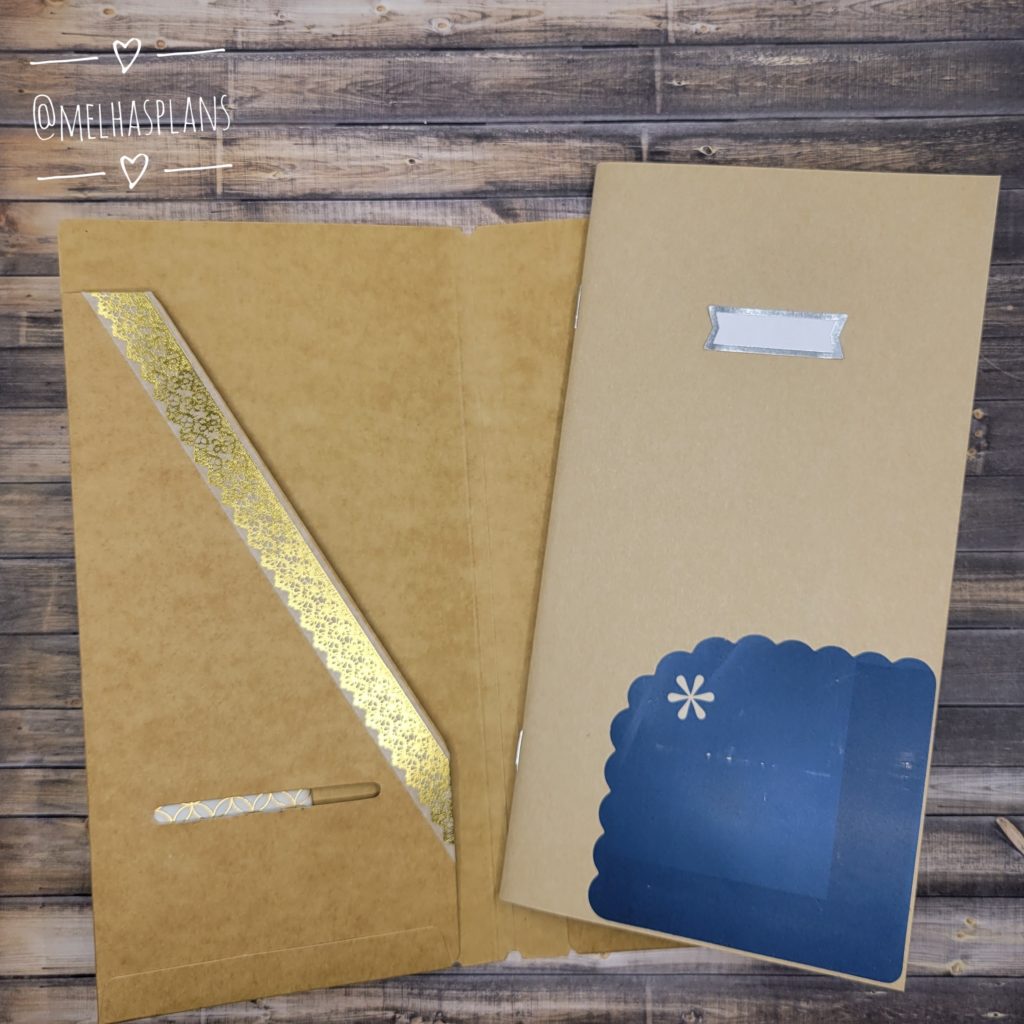
I am doing the same thing with the Kraft Folder (020) and Kraft Paper Notebook (014). There is some decoration already added to them in the picture. It does not come with the pocket or washi tape.
Now, find the middle of the notebook and slide half of it through the elastic band. Pull on the inserts a little bit and wiggle them around so that they all align.
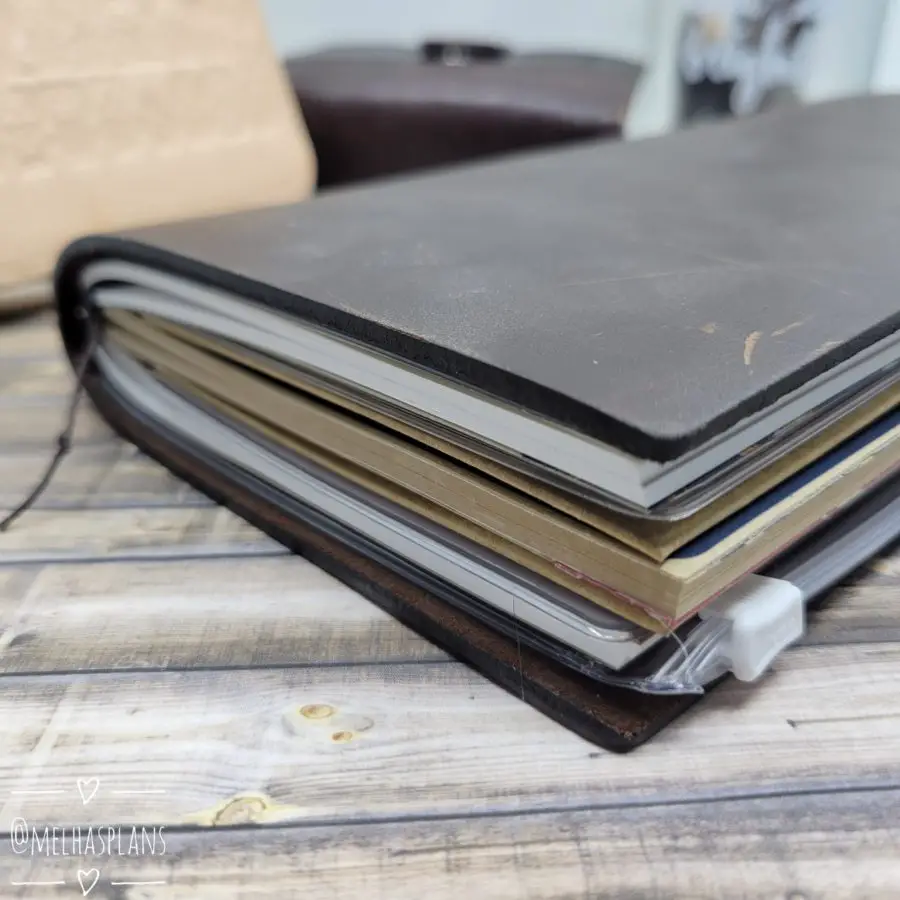
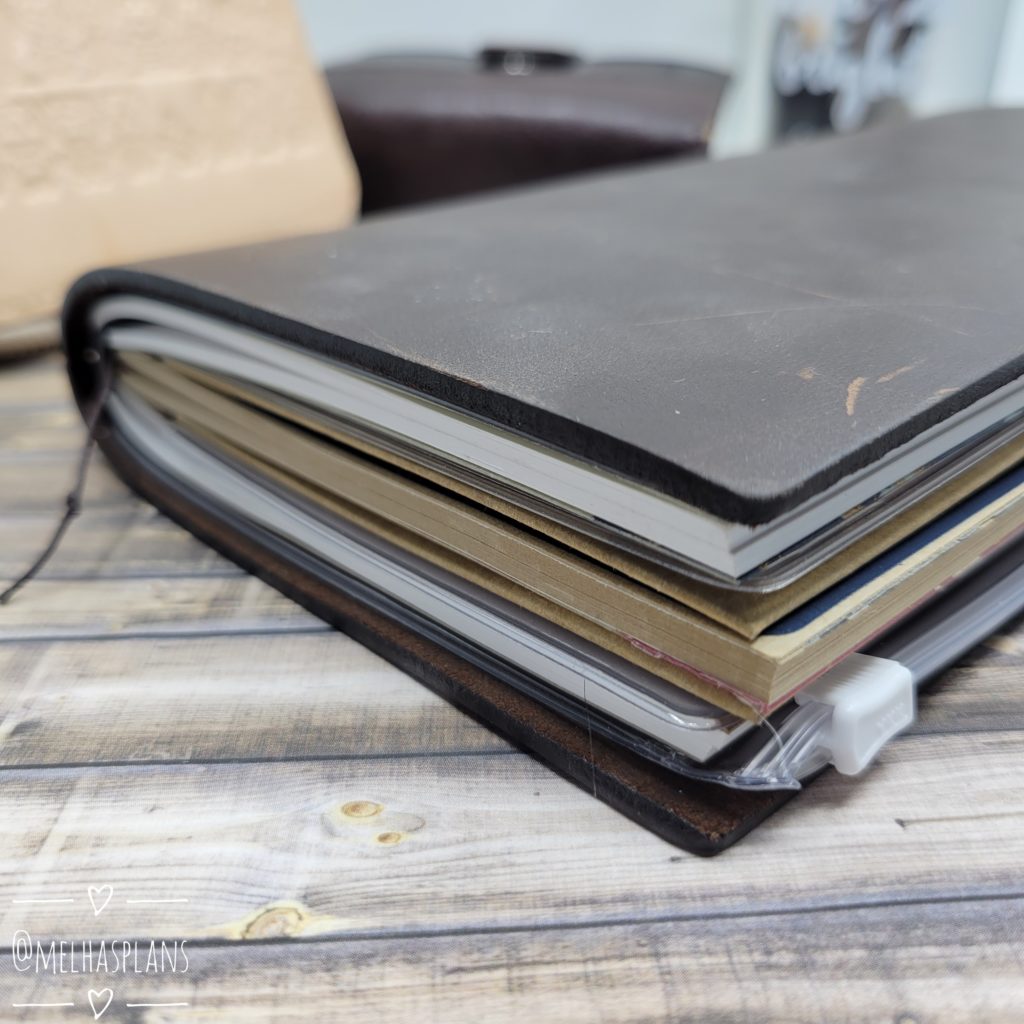
Here is a view of what the notebook will look like from the side. You can see all three notebooks and the inserts around them.
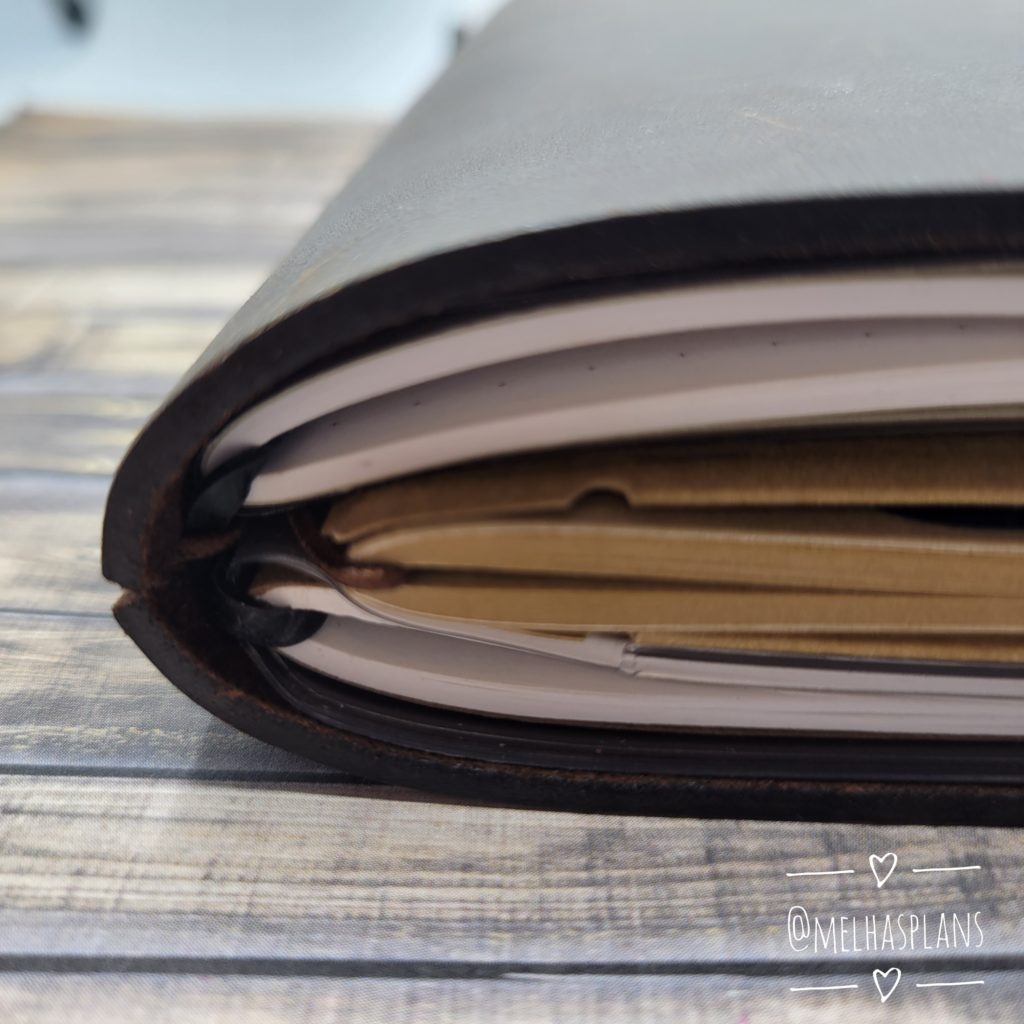
This view show’s the Traveler’s Notebook Setup from the top. It is possible to add a 4th or even 5th notebook to the cover using more of the connecting rubber bands. But by adding more bulk to the notebook, the cover might not be flush with the inserts, and the notebooks will stick out.
Stay tuned for more Traveler’s Notebook posts on this blog. Please subscribe to my monthly newsletter to get any updates. The next post will be about using a Traveler’s Notebook Passport as a wallet. So excited!
Thanks so much for reading.